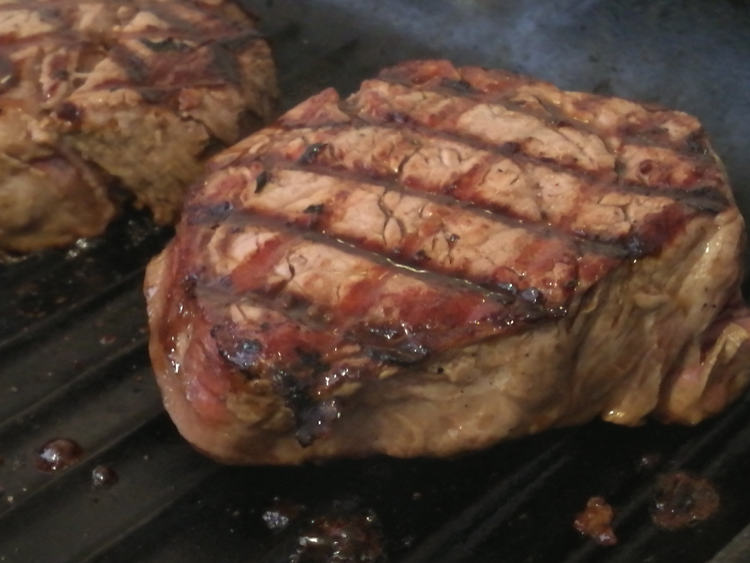
Perfect Steak Cooking Guide
by Elissa Jewell on May 4, 2017
Steak always tastes better at a restaurant
I know when I used to cook a steak myself at home, it wouldn’t have that juicy, tender feel.
It wouldn’t have the perfectly caramelised edges.
It wouldn’t fall apart in my mouth like it would at a good restaurant.
What gives?
Cook your steak like a chef
The reason it tastes so good to eat at a restaurant is that a chef knows exactly how to manipulate the little things.
Funnily enough, bodybuilders should be familiar with these concepts:
Temperature.
Sodium manipulation.
Time.
Resting.
This is how to do it!
This is your step by step guide to the wonderful world of restaurant quality steak!
It takes a little bit more time than just taking a steak out of the fridge and slapping it onto a frying pan, but I assure you it’s well worth it.
Step 1 – Take the steak out of the fridge 30 minutes before you cook it
Leave it to sit, uncovered, in a place in your kitchen where it won’t be disturbed.
Step 2 – After you take it out, season 1 side
Sprinkle the top side of the steak with salt and pepper, then leave it be for at least 15 minutes.
What you should notice is that after you salt your steak, a lot of water starts to rise up to the surface.
This is an essential part of the process, as after the juices rise to the surface, they will begin to drop back down into the steak and start tenderising the meat from the inside-out.
Step 3 – Turn it over and repeat
Season the other side and leave for a further 15 minutes.
The steak should now be sitting at room temperature and will no longer be cold to the touch.
This helps your steak develop the caramelisation on the outside, as the steak doesn’t need to be “warmed up” before it can start cooking and the fat will starts rendering and tenderising the steak as soon as it hits the hot pan.
Step 4 – Add the steak to a HOT pan and cook for 2-3 minutes on the first side
In the last 2-3 minutes of the steak resting in it’s seasoning, you’ll add 1 teaspoon of oil to the pan for every steak you’re cooking.
Make sure the pan is HOT before you start, and when it’s ready, add your steaks one at a time.
Do not turn them.
Do not fiddle with them.
Do not press down with the back of a spatula.
Cook on a medium heat for 2-3 minutes (depending upon how cooked you like your steak).
Step 5 – Turn your steak WITHOUT flipping
If you have a griddle pan, this is where those delicious criss-cross marks come in.
Step 6 – Flip, cook for 2-3 minutes and repeat
Once you’ve turned the steak once, flip it over and repeat this process.
Step 7 – AFTER you’ve turned the steak on the 2nd side, use some steam
Turn the heat off but leave the steak in the pan. Add any of the following to the pan by drizzling on the steak;
– lemon or lime juice
– Worcestershire sauce
– Beef or vegetable stock
This creates steam which cooks the underside further, at the same time as rendering any fat and providing extra moisture to the cut.
Step 8 – Leave it to rest for 2/3 of the amount of time you cooked it for
If you cooked your steak medium rare, chances are you had your steak cooking for 8-9 minutes.
For six minutes, you’re going to leave the steak on the 2nd side down, EXACTLY where you left it after turning it to the side, and let it sit there uncovered.
Step 9 – EAT!
Your steak is ready to eat.
If you did it right, it will fall apart in your mouth and you’ll barely need to use a knife.
Enjoy!
Check out Elissa’s MASSive eBook which is a compilation of over 80 recipes from breakfast, lunch and dinner through to desserts.
To buy a copy for just $5, email [email protected].king to get the best results with the most flavour! Each eBook serves a slightly different purpose, some are for lean gains, others for fat loss and lower calorie diets and some are simply for desserts.


